
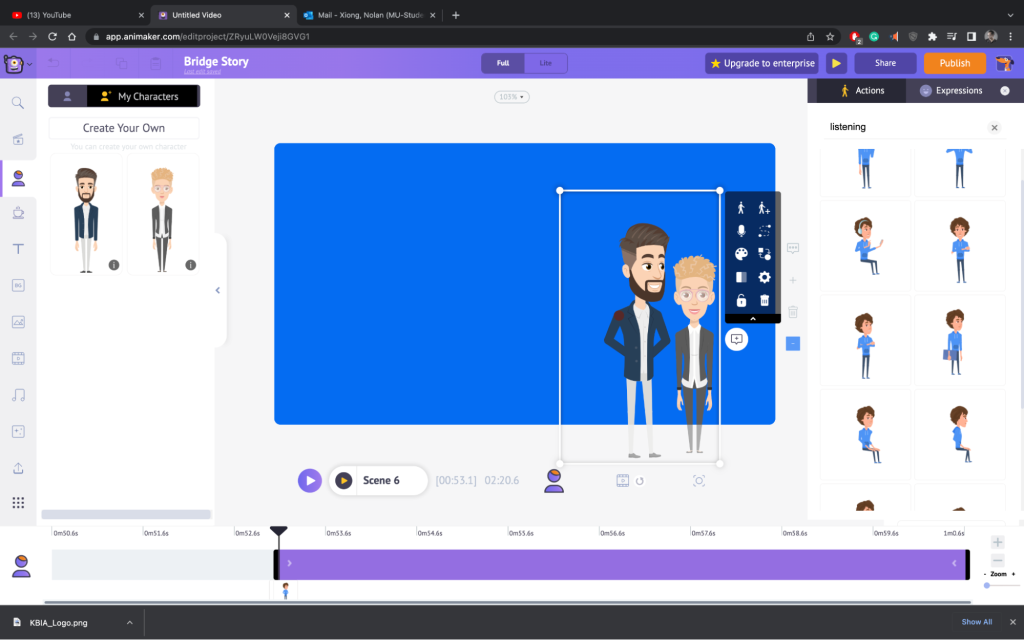
Animaker’s interface attempts to keep all its features viewable on a single screen, allowing you to view your timeline, interact with assets and modify any parameters without ever needing to change your screen. Screenshot: Nolan Xiong
Using Animaker and Steve AI for animated stories
A walk through included features, tools, payment plans and bugs
This month, for Innovation in Focus we worked with KBIA to produce an animated video story for a piece about Missouri bridge infrastructure using Animaker.
Animaker is a DIY animation web-based program that allows you to create animations via templates and premade assets. The creative process behind Animaker mirrors concepts like photo filters and overlay templates, simplifying a niche skill set for journalists who don’t have animation training or experience.
Animaker can be used for free, but has a scaled payment plan that allows for more assets and more program features if you can pay a little. For this experiment, we purchased the pro plan which allowed us more liberties to test the full capabilities Animaker had to offer.
Animaker free version limitations
- Upon downloading the video, Animaker places a watermark in the corner of your video, as well as tagging the end of the animation with Animaker’s logo.
- The free version is limited to approximately 10-20% of the entire asset library available to paid users.
- You have no commercial rights to your animation in the free version.
- The max file format you can export your video is 720p in mp4.
- Auxiliary features of Animaker are locked in the free version (such as a history editing log, custom fonts and a collaborative file manager, to name a few).
These limitations don’t render the free version useless, but you want to be aware of them before starting your project.
Pros and perks of Animaker
Upon entering Animaker’s user interface, the top right section with the 3×3 boxes enables a dropdown menu, listing the applications that can be integrated with Animaker.

Character Builder
This is Animaker’s flagship feature. Though it’s not the only software to contain this feature, Animaker’s Character Builder program allows designing avatars with a significant amount of customization so you can make an animated version of the person who is voicing your story (if you want to do so.)
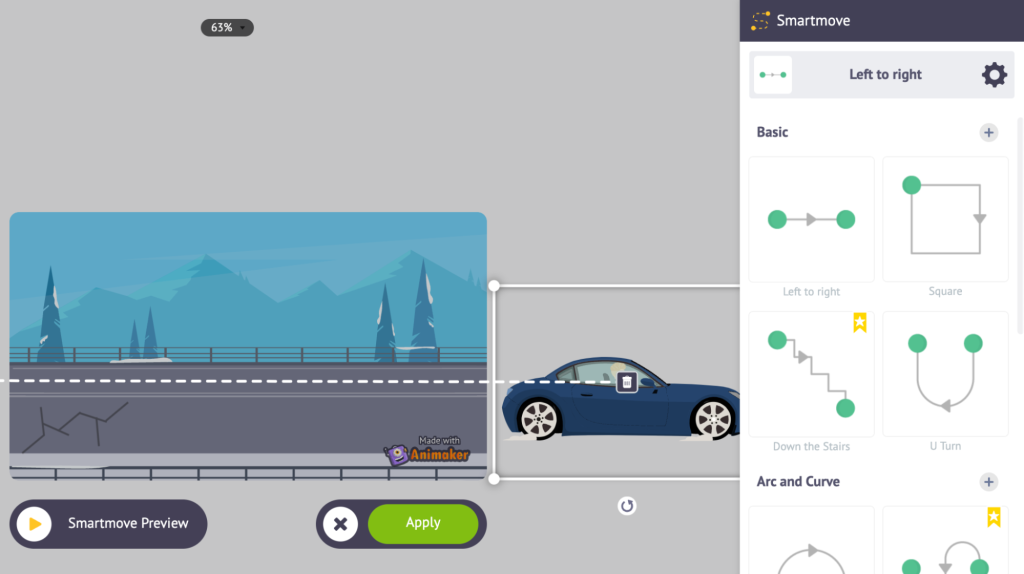
One of the key features that seriously aided in the ease of use with Animaker was its straightforward animation and path sequences that consolidated three or four animation steps into one.
In this experiment, we utilized this feature to replicate our reporter and the radio anchor for KBIA. In theory, journalists could utilize this feature to make representations of the real world people in a story. Character builder also allows you to use animal avatars, so it can be useful for stories centered on animals as well. This tool could be especially useful for lifestyle or features coverage.
Steve AI
Steve AI is not included with Animaker, but much like Animaker, it does include a free version. For our experiment, we added KBIA’s radio 2-way transcript (which we used for voice over) in Steve AI to create bullet points into the program, and afterward, the program generated an animation storyline video based on the text entered.
Reporters may find Steve AI helpful because it simplifies the process of creating storyboards and sequence ideas for how to structure an animation video, which can be really useful for those not experienced with translating news stories into animation. Especially for those already working from a script, as we were, this is a workflow shortcut.
While our experiment did not use the auto generated Steve AI animation seen in the screenshot below, we did find it useful for getting the ball rolling on ideas for how to structure the animation video visually.
It is important to note however that any edits you may wish to do in Steve AI have to be done through Steve AI, and the edit only allows you to change templates, not necessarily change around assets to your choosing.
User experience
Animaker was chosen for this month’s experiment due to their access to animated infographics. It was discovered after purchasing the software that their animated infographics feature was not available in their latest version (though their website stated you could revert back to their version 1.0, it was soon discovered that it was impossible to do because version 1.0 was built on Adobe Flash, which is no longer in service). If your newsroom is interested in Animaker primarily for the asset library, this is something to be aware of.
In terms of usability, there were multiple instances of buggy performance, at least in comparison to more conventional software like Adobe After Effects. Animaker is a web-based platform not a downloaded software, which may be a major factor as to why it was so unresponsive at times because it depended on my WiFi connection. One bug in particular that was stumbled upon several times throughout the project was dead audio. The only way to resolve the problem was to begin the playback back at the beginning of an audio track.

Payment considerations
Make sure you research what you need from Animaker because different aspects of the product vary in price. If you or your newsroom are considering the purchase, when changing screens to enter credit card information, be extra cautious about the toggle button for monthly vs. yearly plans as it can be easy to accidentally charge for the yearly plan.
If you or your newsroom consider the purchase of the product, a major consideration is what you receive upon purchase. The website showcases multiple different integrated tools, but purchasing a single plan, regardless of the pay scale, doesn’t necessarily provide you full access to all of the apps that are integrated in Animaker. Determining what’s included can be a little trickier to interpret than it is with Adobe Suite; so here’s a breakdown of what we used to create our experimental animation video below.
Ethical considerations for animated journalism
In my interview with Tala Schlossberg, an animator and video producer for the New York Times, she brought up some interesting points about animation. Because animation is modular in nature, its strength lies in visualizing concepts, ideas, and events that don’t have a concrete form in the real world. Much like the use of infographics, they can help explain or reframe a metaphysical concept in an understandable manner. Visit our Q&A with her to read more about her thoughts on this.
Final thoughts
When utilizing Animaker for this experiment, we found its editor interface rather intuitive to learn, especially for those with experience in Adobe Premiere or Final Cut. Overall, the learning process is straightforward, so the most difficult aspect of Animaker was for us was navigating their different purchase plans and understanding what you ultimately receive upon purchase.
Where Animaker stands today, it’s implementation is easy for stories that are light hearted in nature, such as an explainer videos where an animation can further the understanding of the issue being expanded upon in the news package.
Editor’s Note: this article was edited by Will Lager, Kat Duncan and Mikaela Rodenbaugh.