
Live to Animation: Tips and Tools

by Rebecca Greenway, University of Missouri student
Whether you’re working with a data set, explaining a complex system or trying to localize a global or national issue, some stories just don’t allow for on-the-ground visuals shooting. Utilizing animated characters and scenes can be a creative way to tell these stories effectively.
However, your typical journalist isn’t an animator! So we piloted a few easy-to-use animation tools and here are our suggested best practices for working with animations in the newsroom:
1.) Craft the Story
Before opening any editing software, you’ll want to create your script or storyboard. Think of this like an elevator pitch of your main points or findings lasting about 30 to 50 seconds. Remember to use conversational tones and words.
2.) Animate Your Character
Once you’ve got your script, you’ll want to add a character. Well-known weather forecaster Kenton Gewecke allowed us to animate him for our pilot. By adding a character to narrate the script, it will standardize your stories for a faster workflow and guide it from beginning to end.
We used Adobe Character Animator, which allows you to lipsync your character to your recording. The software involves considerable render and export time compared to cloud-based software such as Powtoon or Animaker. (See our piece on its data visualization capabilities.) We recommend choosing a character template, then customizing it to your real character. When you create a memorable character or use it multiple times, it can help add consistency for your audience.
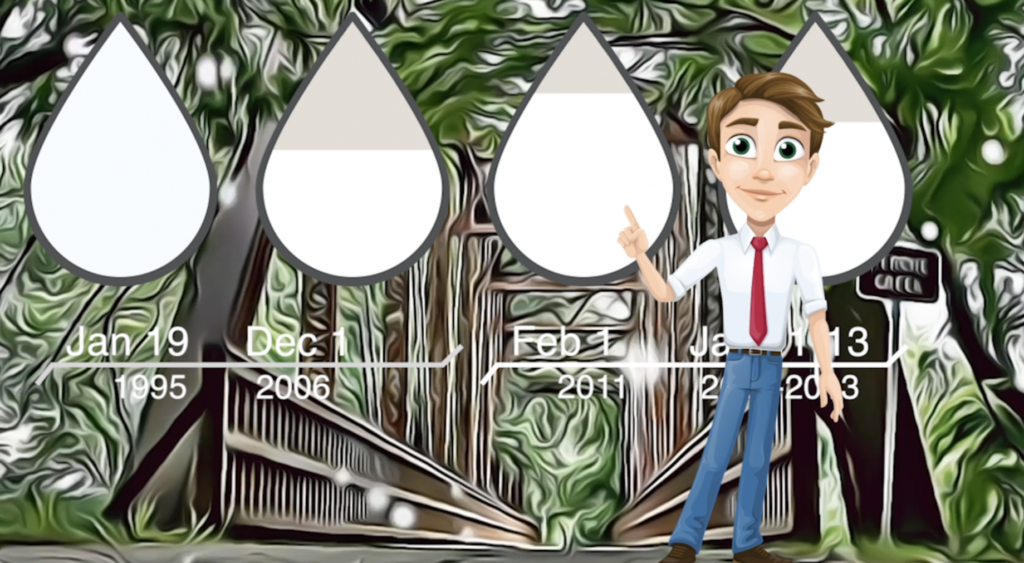
3.) Convert Live Video to an Animated Scene
For reporters and producers with a short deadline and no design background, we don’t recommend drawing scenes from scratch. To place an animated character in a live-like setting, we applied a cartoon effect to short, public domain videos of our city. Alternatively, you can also use a solid background or template cartoon scene to feature data and other visuals.
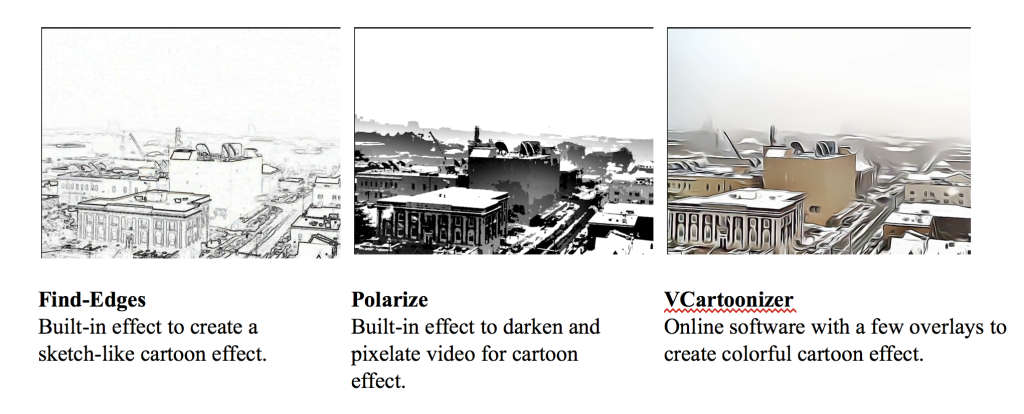
There are many cartoon features on the market, but we went with VCartoonizer. Here are the looks created by VCartoonizer compared to built-in effects in Adobe Premiere Pro.
4.) Export Character
Getting your scene and character together may involve some time to render, so plan ahead! You can utilize Adobe Dynamic Link by dragging your character into Adobe After Effects or Premiere Pro. If it isn’t working or taking too long to render, an alternate option is to export a .png sequence of your character.
Adobe Character Animate (File→ Export PNG )
Adobe Premiere Pro / Adobe After Effect (File → Import Cycle→ PNG folder → Click the first image of your PNG sequence→ Options: Image Sequence → Import)
5.) Track the Results
Export and share! With apps like Snapchat popularizing personal animations, audiences are more familiar and receptive to digital stories and animations. However, audiences vary so it’s always a good practice to track your audience’s interaction with your pilots to guide future animated storytelling.
That’s all for now! Check out our full pilot animation here or more examples from our interview with Emmy Award-winning producer Michael Schiller.